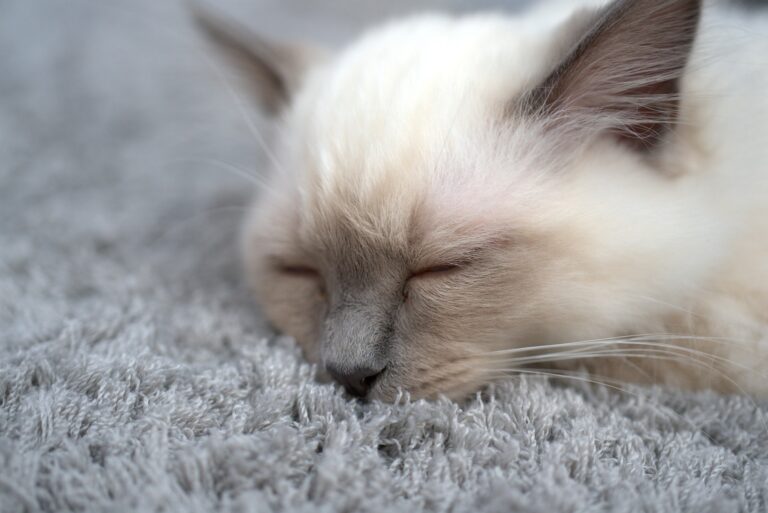
Maintaining your cat’s ear health is an essential aspect of responsible pet ownership. If you notice your cat’s ears becoming gunky or dirty, it’s crucial to address the issue promptly to prevent discomfort and potential ear problems. In this article, we’ll provide you with a step-by-step guide on how to clean your cat’s ears safely and effectively, ensuring a comfortable and gunk-free experience for your feline companion.
Why Cleaning Your Cat’s Ears Matters:
- Ear Hygiene: Keeping your cat’s ears clean helps maintain good ear hygiene, reducing the risk of ear infections and discomfort.
- Early Detection: Regular ear cleaning allows you to monitor your cat’s ear health and detect any potential issues, such as ear mites or infections, at an early stage.
- Preventing Discomfort: Dirty or gunky ears can lead to itching, irritation, and discomfort for your cat. Cleaning their ears helps alleviate these issues.
Preparing for Ear Cleaning:
- Gather Supplies: Before you begin, assemble the necessary supplies, including cat-specific ear cleaner (available at pet stores or from your veterinarian), cotton balls or pads, and treats for positive reinforcement.
- Choose a Calm Environment: Find a quiet, calm area in your home for the ear cleaning session. Minimize distractions to help your cat stay relaxed.
- Familiarize Your Cat: Gently handle your cat’s ears before the cleaning to acclimate them to the sensation. Offer treats and praise to create a positive association with the process.
The Ear Cleaning Process:
4. Hold Your Cat Securely: Gently but securely hold your cat in your lap or have someone assist you. Make sure your cat is comfortable and feels safe.
- Examine the Ears: Examine your cat’s ears for signs of gunk, dirt, or wax buildup. Pay attention to any redness, swelling, or unusual odor, as these can indicate an underlying issue that requires veterinary attention.
- Apply the Ear Cleaner: Following the product instructions, apply the recommended amount of ear cleaner into your cat’s ear canal. Gently massage the base of the ear to help distribute the cleaner and soften any debris.
- Allow Your Cat to Shake: After applying the cleaner, allow your cat to shake their head. This helps dislodge loosened debris and cleaner from the ear canal.
- Wipe Away Debris: Use a cotton ball or pad to gently wipe away any visible debris or excess cleaner from the ear. Be cautious not to push debris deeper into the ear canal.
- Repeat if Necessary: If your cat’s ears are particularly gunky, you may need to repeat the cleaning process on the other ear.
- Reward and Praise: Offer treats and praise to reward your cat for their cooperation and to create a positive association with ear cleaning.
- Regular Maintenance: Make ear cleaning a part of your cat’s regular grooming routine, typically every 1-2 weeks or as recommended by your veterinarian.
When to Consult Your Veterinarian:
If you encounter any of the following issues during the ear cleaning process or if your cat’s ears show signs of persistent discomfort, odor, discharge, or inflammation, it’s essential to consult your veterinarian for a thorough examination and guidance:
- Ear bleeding
- Unusual lumps or bumps in the ear
- Strong, foul odor from the ear
- Signs of pain or distress during cleaning
In conclusion, cleaning your cat’s ears when they become gunky is a vital aspect of their overall health and well-being. By following these steps and practicing patience, you can ensure a safe and comfortable ear cleaning experience for your feline friend. Regular ear maintenance not only prevents discomfort but also helps you monitor your cat’s ear health and detect any issues early on, ensuring a happier and healthier life for your beloved pet.


